Steps for Mounting Deer Taxidermy: What You Need to Know
If you’re looking for steps on how to mount a deer taxidermy trophy?
It is common for hunters to decorate with skulls and rugs to commemorate the animals and memories of the hunt. Those getting a full shoulder mount usually rely on a professional to create the deer taxidermy mount. However, a hunter’s responsibility for the end product is more than just pulling the trigger.
Many avoidable mistakes that a lot of hunters make after a successful shot. Bringing in a damaged cape is a downer for your taxidermist and your wallet. Here are a few rules to keep in mind for mounting your deer taxidermy:
How to Mount a Deer: The Deer Mounting Process
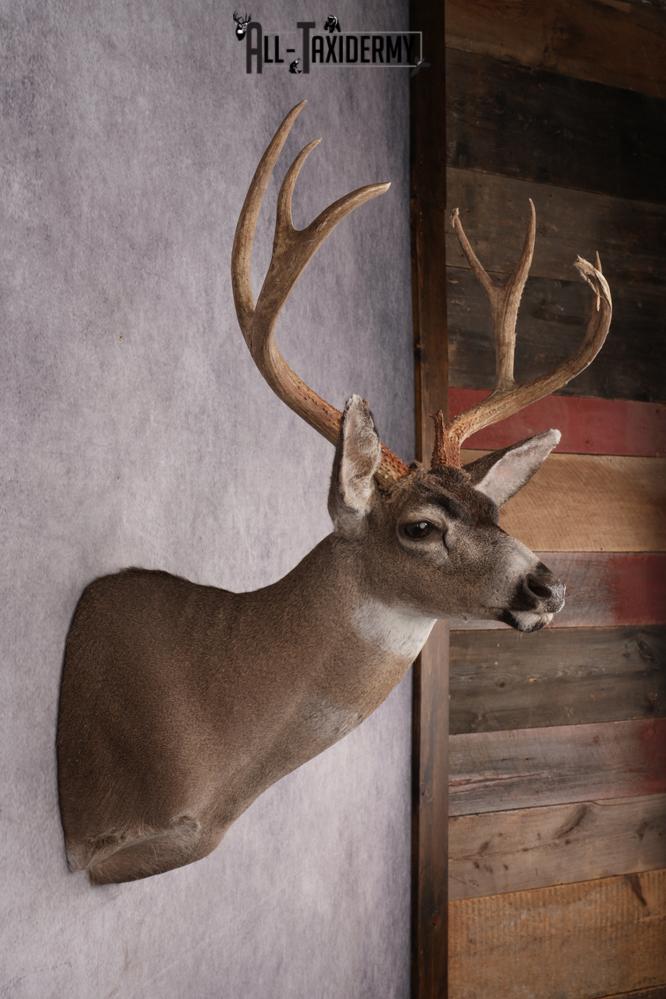
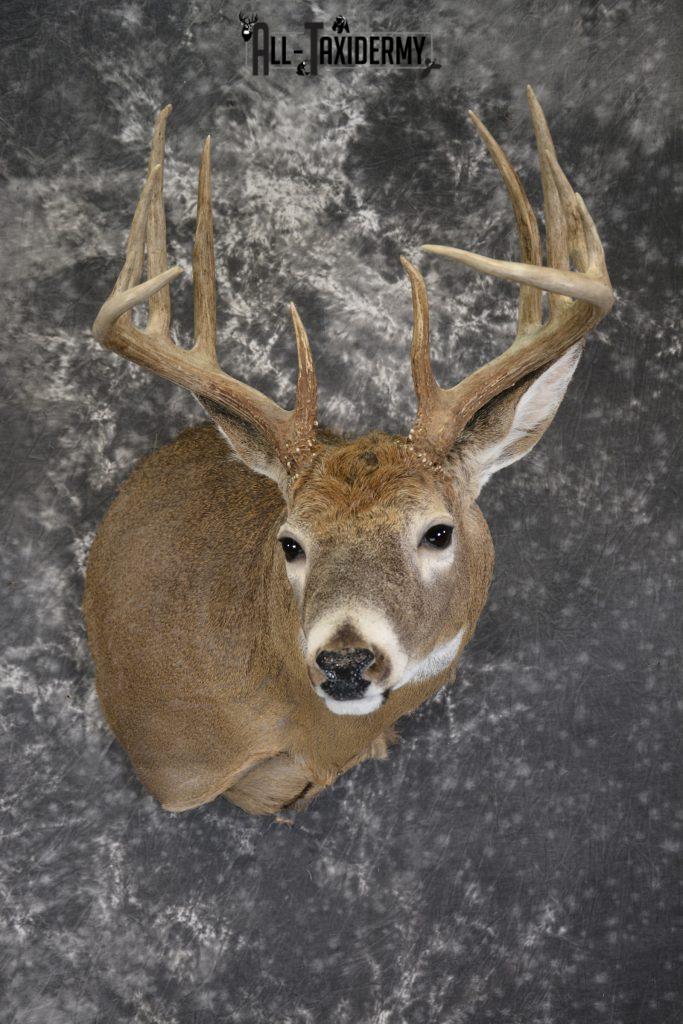
Hunting a deer comes with a lot of personal pride and excitement over trophy – no matter if it’s your first buck, or 20th! If you’re newer to hunting and mounting a deer taxidermy mount, you should learn a few tips to ensure you get the best results for your shoulder mount, life size mount, or pedestal.
Here are the steps to properly getting your whitetail, mule, or other deer species mounted:
Step 1: Make Sure to Protect the Cape
The first and most important step in properly mounting a deer taxidermy mount is ensuring the protection of its hide. This is particularly important during the transportation of the deer to your truck, a process that poses a high risk of damaging the hide.
Be sure to exercise extra caution at this stage to prevent any harm to the buck’s cape.
Step 2: Keep the Fur off the Ground
For this next step, it is essential to keep the fur off the ground. When dragging the deer, always hold it by the antlers or front legs.
This technique ensures that the deer’s shoulders, neck, and head remain elevated and protected from contact with the ground. This method helps maintain the integrity of the fur, which is vital for a successful mount.

Step 3: Hang by the Back Legs vs the Neck
When butchering your buck, it is essential to hang it by its back legs rather than its neck. Hanging the deer by its neck can cause significant stress on the hair and hide, potentially leading to irreversible damage. By hanging the deer by its back legs, you ensure the hide remains intact and suitable for mounting.
Additionally, do not cut the throat to bleed the deer out; this method can damage the hide and reduce its quality for taxidermy purposes.
Step 4: Slice from the Inside Out
Properly caping a deer is a critical step in preparing it for mounting. To ensure a clean cape, make your cuts from the inside out. This technique helps maintain the integrity of the hide, preventing unnecessary nicks and cuts that can occur when slicing from the outside in.
A well-caped deer hide makes a significant difference in the final mounted result.

Step 5: Avoid Salt and Add the Deer to a Freezer
A common misconception is that salting the hide is necessary if you are not immediately taking it to the taxidermist. While salting can deter bacterial growth during remote hunts, prolonged exposure to salt can dry out the cape, causing issues for the fleshing process. If you do need to salt the hide, communicate this to your taxidermist to avoid any complications.
Instead, place the cape in a freezer or cooler as soon as possible. If using a cooler, ensure the cape does not come into contact with ice or water, as this can damage the hide. When storing the cape in a freezer, lay it flat and avoid any wrinkles.
Wrinkles can become permanent and noticeable when the cape is thawed, affecting the final mount. While the freezer protects the hide, improper storage can still cause damage.
Step 6: Transport your Deer Mount Carefully
If you freeze it with skin touching hair, this can cause hair loss. You can also damage delicate parts of the deer, like the nose and ears, if they become freezer burned. To prevent this, there’s a three-step folding method that taxidermists like to use.
- Fold 1 (skin to skin): Fold the cape the short way.
- Fold 2 (hair to hair): Fold the cape the long way, with the head extending beyond the brisket.
- Fold 3 (hair to hair): Fold the head back in the opposite direction and tuck the nose under.
If you take this approach, wrap it in garbage bags and place it in a spot where it can sit flat. Don’t stack other items on top of the cape, either.
Your taxidermist will likely take several months to ensure that you get the deer trophy of your dreams! (Contact us for a time estimate). Last step: to actually mount the deer taxidermy onto your cabin wall!
Step 7: Mount Deer Taxidermy to the Wall Using Drywall Screw
Once your taxidermist has completed your new deer trophy, it’s time to mount it to the wall! To mount deer shoulder mounts, you’ll typically need a 3 1/2″ drywall screw.
Begin by determining the desired location on the wall for your mount. Use a stud finder to locate a stud behind the drywall. Once you’ve found the stud, drill a small hole through the drywall and into the stud using a small diameter drill bit.
Finally, use a screwdriver or a cordless drill to securely fasten the mounting screw into the stud. We detail more on our taxidermy handling and hanging page.
For further reading, please take a look at our articles on field care 101, how to properly field dress a deer, and how mount a deer head at home.
Deer Mount Species
The deer mounting process applies to any deer species, although it will differ slightly.
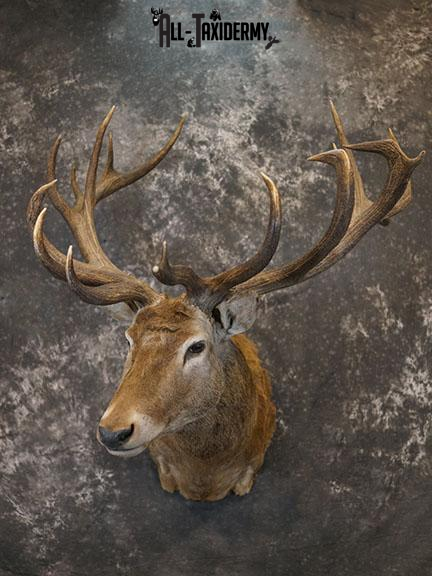
We are skilled in deer mount services for the popular Whitetail deer and Mule deer species, to other North American, and Asian species like the Coues deer, Fallow deer, Axis deer, Pere David’s deer, Black-Tailed deer, Red stag, Sika deer, and Roe deer.
Other larger members of the deer family that we provide services for are the moose, elk, and caribou.
Browse all our deer mounts online, or contact All-Taxidermy for professional deer mounting services!

Contact Us for Deer Taxidermy Services!
Need help with mounting your deer taxidermy mount? We can assist you with mounting deer shoulder mounts, skulls, or full-body mounts.
At All-Taxidermy, we strive to make our services available to everyone, from taxidermy enthusiasts, to hunters, to museum, store, and café owners. We focus on completing the job in the shortest time frame possible, without compromising aesthetic requirements. That means you can expect your deer mount to be shipped at the soonest date possible, and to arrive with the most professional look that preserves the beauty and nature of the animal.
If you need ideas, our taxidermists can discuss deer mount ideas with you. Here are 6 ways to display your deer taxidermy. Taxidermy ideas for your deer mount include shoulder mounts, pedestal wall mounts, life size mounts, antler displays, and European mounts, just to name a few. Check out our price list for more information on what to expect for cost.
If you have any questions on how to mount a deer taxidermy mount, please don’t hesitate call now at (888)-983-3886 or contact us online!


