Field Dressing a Deer
In this article, we’ll discuss some tips and tricks of how to properly field dress a deer.
We all learned to dress a deer from somebody else, whether it was a parent or from a guide from a hunter safety course. Proper field preparation is important for keeping your animal in taxidermy-worthy condition, and is also a crucial skill to know to make sure there is no bacterial contamination of the meat.
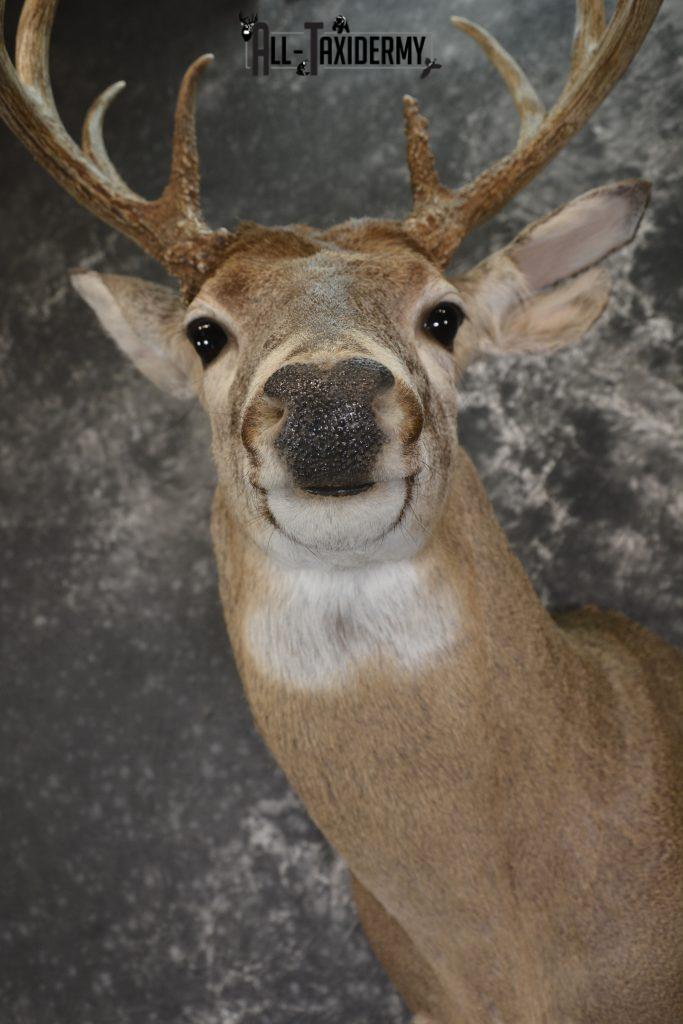
A beautiful deer wall mount or full-body mount with a habitat of a Whitetail or Mule deer can bring the memories of a hunt back any time you look at it.
The majestic head and antlers of your deer can take you back to the enjoyment of hunting in the crisp autumn woods. More on deer hunting tips to get the trophy you want.
The quality of the taxidermy work will depend largely on how you cared for your animal prior to the service. With every deer season that comes annually, unfortunately, us taxidermists too often see hunters making errors in the handling of their deer.
It is important to note that some types of damage to the animal cannot be “fixed” by your taxidermist. Knowing to avoid making these errors will make it much easier for your taxidermist to work with the animal, and will make your mount a worthwhile investment.
Getting Started
To get started, you’ll need a sharp knife that is at least four or five inches long, with a really good guard. Another knife with a saw edge or a little bone saw can also make things easier as you field dress a deer.
Once you have all the materials you will need, you can start prepping your deer.
1. Prep the deer
For the first part of the field dressing process, you’ll need to place the deer on its back. If you can, prop it up by putting some big stones beneath its hips and shoulders, where the head is slightly higher than the rear, if possible.
2. First incision
Next, you’ll want to make a shallow cut from the breastbone to the bottom of the pelvic bone, cutting around the genitals. Cut shallow enough to just cut the skin at first, then pull it away from the muscle layer so you can see what you’re doing for the next cut.
3. Next cut
To cut through the muscle layer, face the blade upward, and follow the same line you cut when cutting through the skin, from pelvic bone to breastbone. If you use two fingers from your other hand to steady the blade and work those fingers into the cut as you make it, you can lift the muscle layer, which can make it easier to make the cut without cutting into the entrails.
You’ll also want to cut up through the cartilage center of the breastbone. This is where a saw-edged knife or a bone saw would come in handy. If you don’t have one, be especially careful at this step.
4. The guts
Next, you want to cut a hole around the anus, careful not to cut into the rectum or nick the intestines, and once you’ve worked the anus free, tie a string tightly around it to keep waste from spilling into the animal’s exposed body cavity. Nobody wants that.
Now cut out the windpipe as far up the neck as you can without damaging the neck. Pull the windpipe as hard as is required to remove the entrails down to the middle of the animal. If you can’t just pull them out, reach behind them and cut the tissue that holds them to the back of the animal.
Next, you’ll want to cut the diaphragm, which is a thin muscle that helps hold the rest of the entrails to the ribs. Then grab the entrails with both hands and yank them out.
Note: If you’re after a shoulder mount instead of a head mount, cut only as far as the bottom of the breastbone, cut into the chest area through the diaphragm, cut the windpipe and remove the contents of the chest cavity through the lower gut.
5. Taxidermy your deer
You need to get your deer carcass to your taxidermy service as quickly as possible for the rest of the process. Make sure to carefully follow this guide, as any damage done to the animal during prep cannot be easily fixed.
If you cannot get your animal to your taxidermist quickly, make sure to ask them about their animal-freezing specifications. Learn more about what to do to get a deer mounted.

Custom Deer Taxidermy
If you’re looking for a custom taxidermy service, look no further than All-Taxidermy. Our team is highly skilled in creating your ideal custom deer taxidermy. We work with custom animal life size mounts, shoulder mounts, rugs, pelts, skulls and more from North America, Eurasia, and Africa.
Need ideas for your deer mount? We can custom create beautiful displays of your whitetail or mule buck, whether as a wall mount, pedestal mount, or as a full-size mount with a habitat. We can also do pelts and European mounts with just the skull and antlers. Here are 7 interesting deer head mount ideas to inspire you as you consider what your deer taxidermy could look like.
To get started, please give our team a call today at 1-888-983-3886, and let’s talk about custom taxidermy! We detail more about pricing in our article here on cost for deer head taxidermy.
